This is a fun project to personalize your party in your favorite colors and have something permanent to use again and again. It is very easy to do if you have basic sewing machine skills or are a beginner and would like something fun and easy to start out with. It is also a good way to use up fabric scraps from other projects you have been working on. You can make it as colorful as you like!

I used cotton dish towels for my fabric. They come in so many pretty colors and you can even buy extra to use as coordinating accessories, such as napkins or place mats. I found these in my local craft store, but you can find them anywhere. These were 20"x28". I bought 4 to make a 16 pennant garland, which is about 11 ft. long.
You will also need 2 pkgs. large size rick rack or single fold large size bias tape for your 'string' and coordinating thread.
The first thing you will want to do before you even get started is to wash and dry the dish towels. You want them to be pre-shrunk so that later, if you wash your pennant, you won't end up with puckered pennants!

Next, you will want to make yourself a pattern out of paper. Measure a triangle with long sides of 9" and the top side 7". Then add an extra 3/4" to the top with straight sides. You can draw your seam lines in dashes 1/4 inch from the edges. (This is to remind you if you plan on making more further down the road and then wonder if you added in the seam allowance to your pattern!)
Now fold your dish towel in half to make 14"x20". This will give you two sides to each of the pennants you are going to cut out and sew together.
You will be able to cut out 4 pennants per towel by alternating the pattern in the way I have shown. Draw around the pattern with a pencil for each pennant and then cut them all out, being careful to keep the double layers together evenly. Sewing pins will help. Continue to keep all of your double layers together for each pennant, as you will be sewing these together.
To sew, turn the fabric 'inside out' with both sections facing each other, right sides together. Start at the top of the pennant and sew down the long 9" side, around the point and up again to the top. Don't sew across the top, as you will need to turn the pennant 'right-side out' after you trim the seam to 1/8".
After turning 'right-side out', use a little chopstick or knitting needle to push out the point. Press the pennant to get the seams to lie flat.
Fold the top edges inside by 1/2", both front and back, and press flat.
Repeat for all of your pennants.

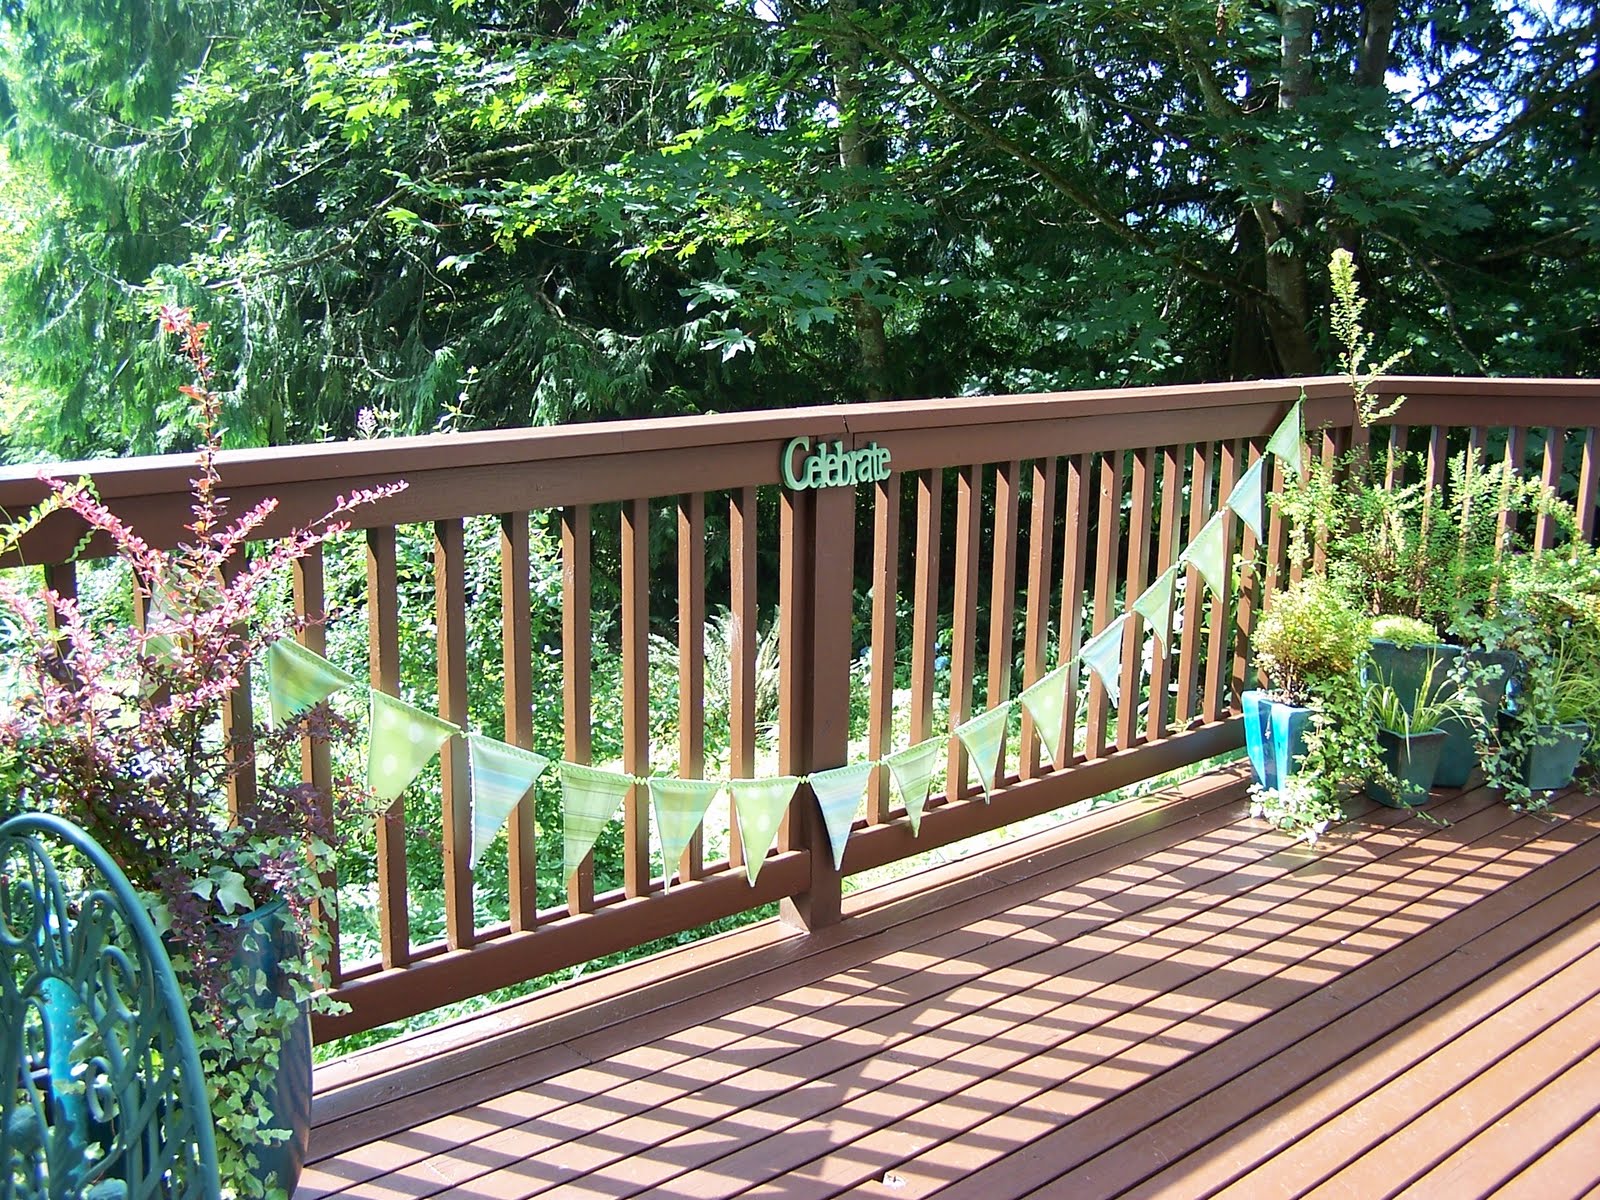
Pin your rick rack or single fold bias tape all along the top edge of your pennants, leaving a little space between each pennant by about 2", and leaving long ends of about 30" for hanging on each side. The rick rack is sewn across the front along the top edge. The bias tape is placed over the top edge, pinned in place and then sewn, catching the top edge inside the fold. Sew all the way to the ends of the bias tape. Make a little knot in the ends of the bias tape when done to keep from unraveling.
You will need to join the rick rack or bias tape at some point to extend the length. Simply overlap the edges and sew across the ends back and forth two or three times to secure it.


And there you have it, a pretty little Party Pennant Garland to hang at your next celebration!

Now get that party started!!

Wow. What a great way to personalize a party and show how much you care. This is such a great idea and Green just happens to be my favorite color! Wonderful selection!
ReplyDeleteThank you, Sarah! xx
ReplyDeleteThat's such a great project! You've done a beautiful job. And - what is it that makes rick-rack so appealing?
ReplyDeleteWhat a great idea Karen!! I will have to remember this for Maddie's 4th birthday!! I bet I can do them in a princess theme!! :) Thank you for sharing!
ReplyDeleteThank you, Christine and Kellie! Yes, rick-rack is so 'retro', it brings back memories of Grandma!
ReplyDeleteKellie, the 'princess' theme sounds so darling! You will have to share if you make them!